

")
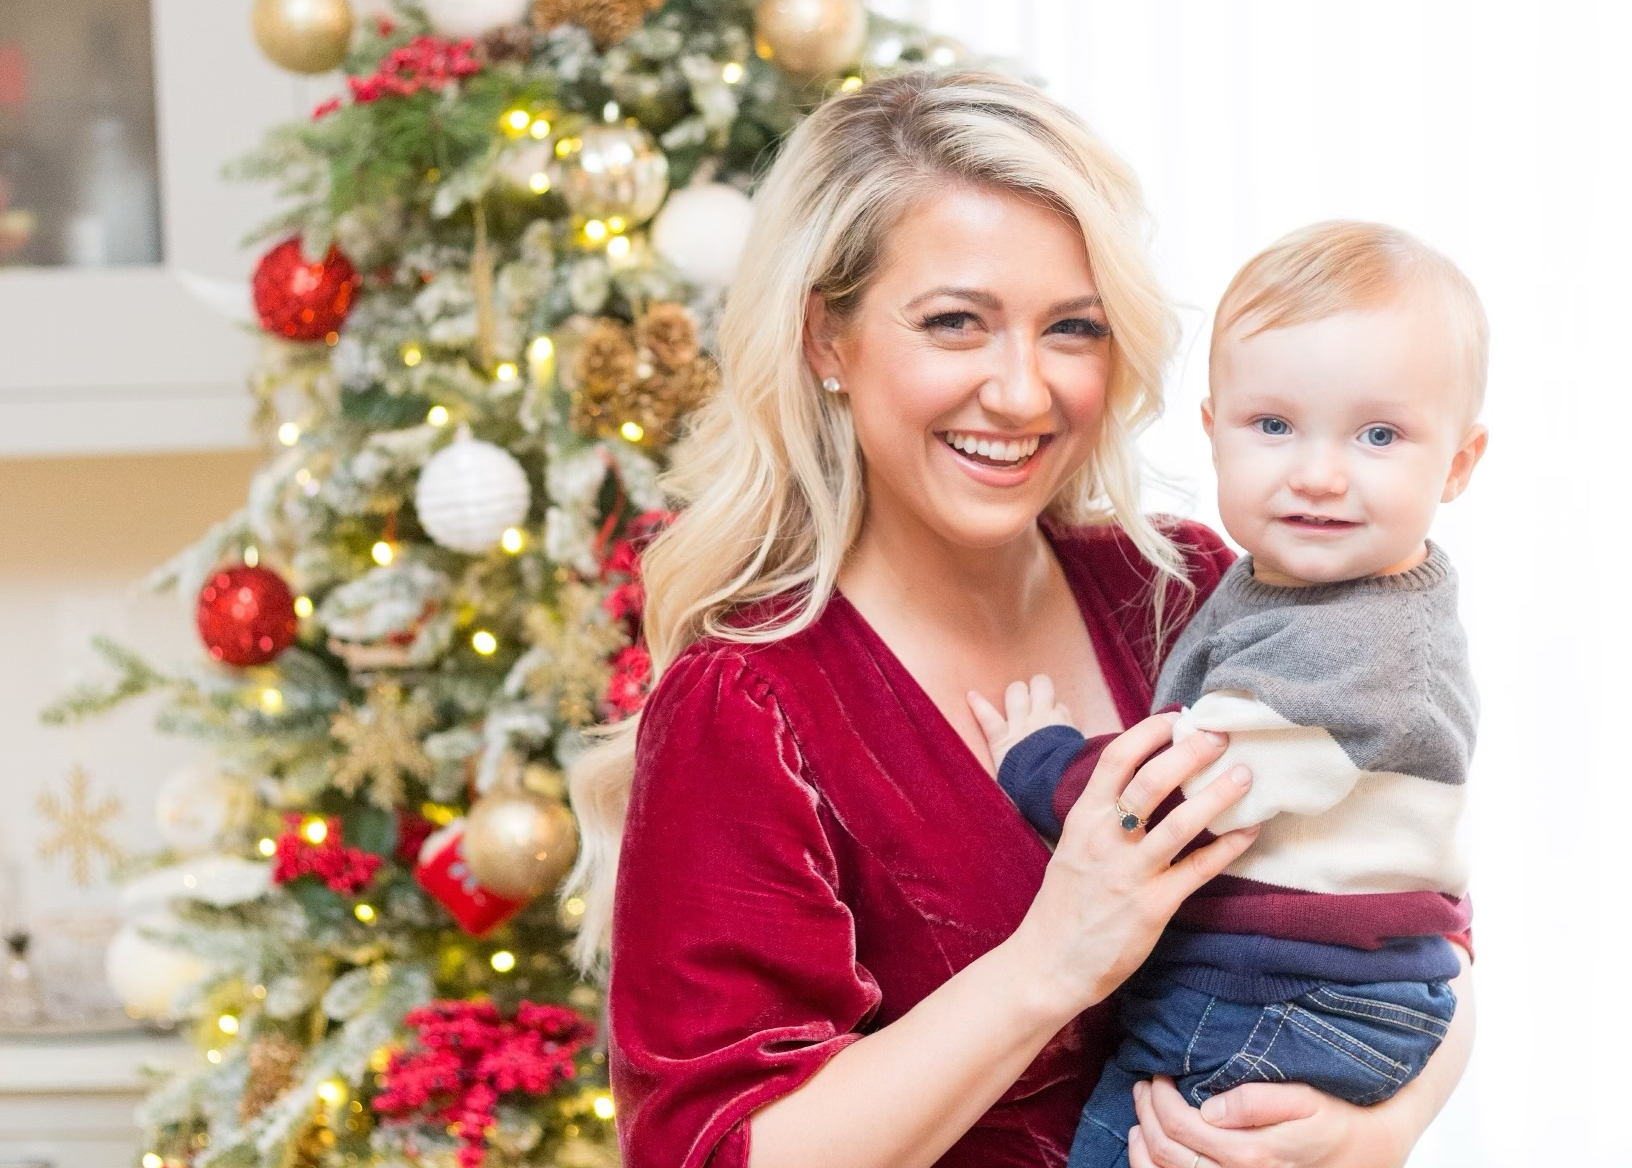
How to Decorate a Christmas Tree
Natalie Langston
BY:
The perfect Christmas tree consists of baubles, ornaments, and lights all perfectly curated within the framework of a festive yet elegant theme. Easy right? More like easier said than done! While getting my own Christmas tree ready and thinking of the best way to achieve this, I thought I’d share all the tips and tricks I’ve gathered throughout the years. Using these tips as a guideline, your tree will look effortless, polished, and insta-worthy without breaking a sweat!
I just wrapped up a media tour across Canada and here is a link to the segment on CTV Morning Live Regina I did recently.
https://regina.ctvnews.ca/video?clipId=1833567
1. Start with a colour and theme
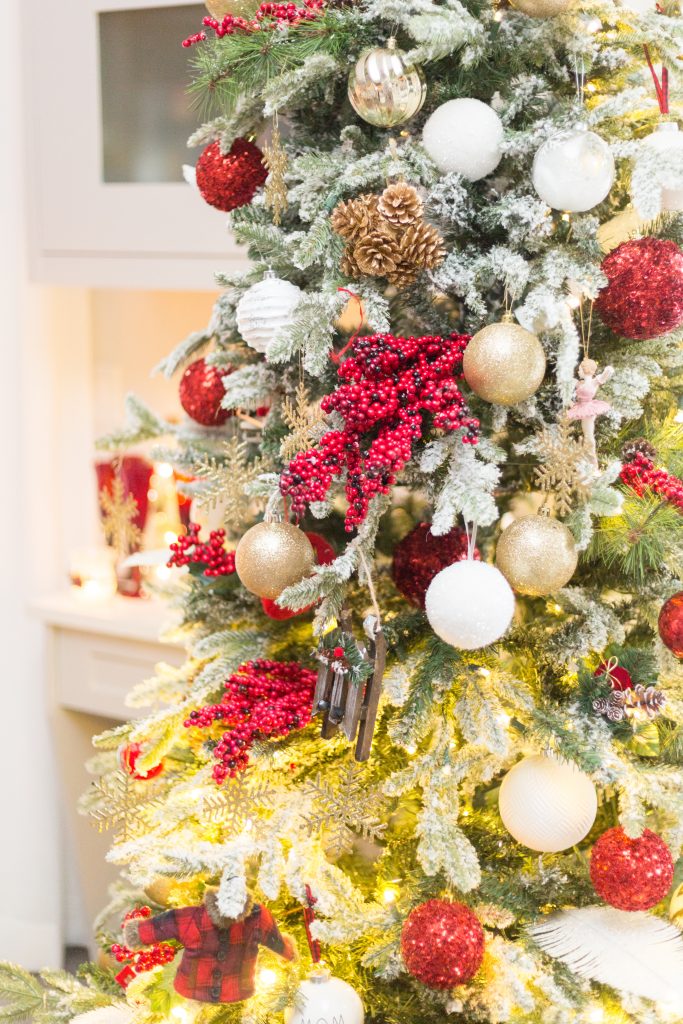
Any decorating I do ALWAYS starts with choosing a theme and colour palette. This makes it so much easier to keep things consistent and cohesive. As with everything else, Christmas decorations have their own trend cycles. Cold and minimal winter whites are on the decline and we’re seeing the emergence of a more rustic motif complete with golden glowing lights. I kept this in mind while decorating and went for a simple palette of gold, red, and cream, accented by cozy flannel elements to add warmth and texture. I always tend to lean towards a traditional theme with little trend-forward infusions.

2. Invest in a high-quality artificial tree
Quality pays off! A well-made artificial tree will see you through many Christmases to come and keep its shape year after year. To prevent wear and tear on your tree, consider models with advanced features that offer easy setup and storage.
3. Fluff and shape branches
It’s all in the details when it comes to the perfect tree. Fluffing your branches makes a world of difference and gives a full, natural look. Start by separating out each branch and fluffing the needles. Then bend individual branches to fill in as much space as possible. Although this step can be time consuming it’s definitely worth it to have a lush looking tree as a canvas for all your decorations.
4. Light it up!
Make sure to add your lights before adding any ornaments. Use the plug as a starting point at the tree’s trunk and then spiral your way upwards around the tree. How many lights you have will dictate how large the gaps between your spirals should be. Once you’ve reached the top, weave your way back DOWN the tree, placing the spirals further out on the branches towards the tips. Your bulbs should alternate between under and over branches with each spiral.
5. Selecting the right adornments
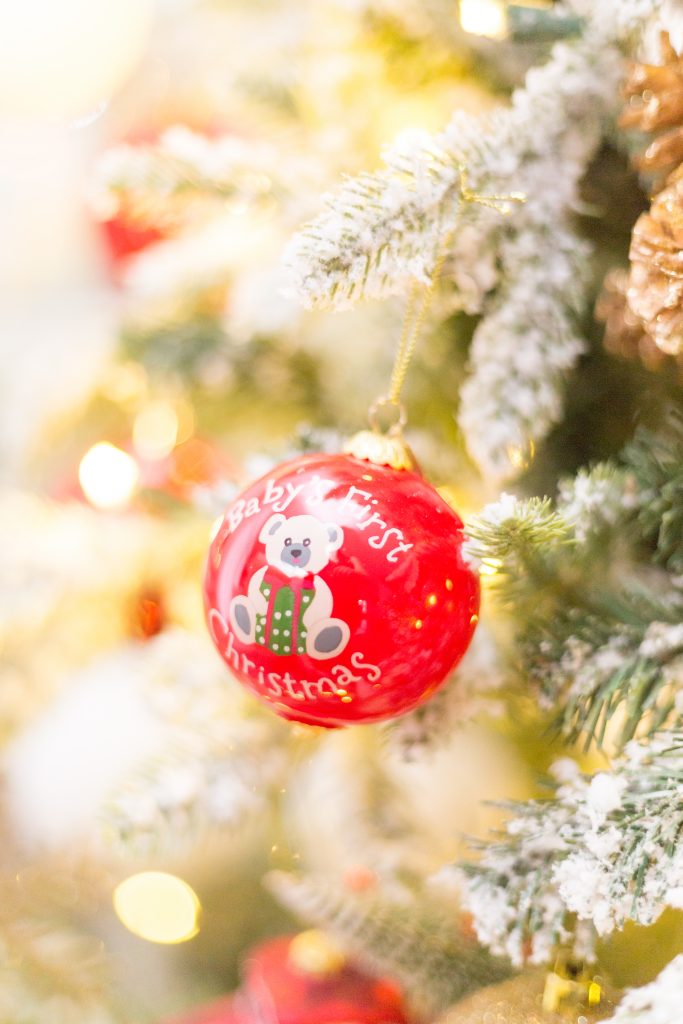
While it’s easy to amass a rag-tag crew of ornaments from Christmases past, achieving a cohesive tree requires a bit of editing when it comes time to decorate the tree! Try your best to ensure that each and every ornament you select ties into your theme and you’ll be well on your way to a picture-perfect tree. That doesn’t mean you can’t have some fun with it! I incorporated baby’s first ornaments, sleds, flannel touches, and a cute hot chocolate ornament to make my tree feel homey and authentic.
6. Cluster your baubles
I recommend clustering three baubles of different sizes in the same area to add dimension I always keep odd numbers in mind when decorating as they are more appealing to the eye! I usually use clusters of three or five, using a mixture of similar and contrasting pieces in each grouping.
7. Layer and style ribbons
Another way I like to add depth to the tree is by layering decorative ribbons throughout. You might want to stick to one style, or incorporate multiple ribbon textures and widths for a more dramatic, layered look.
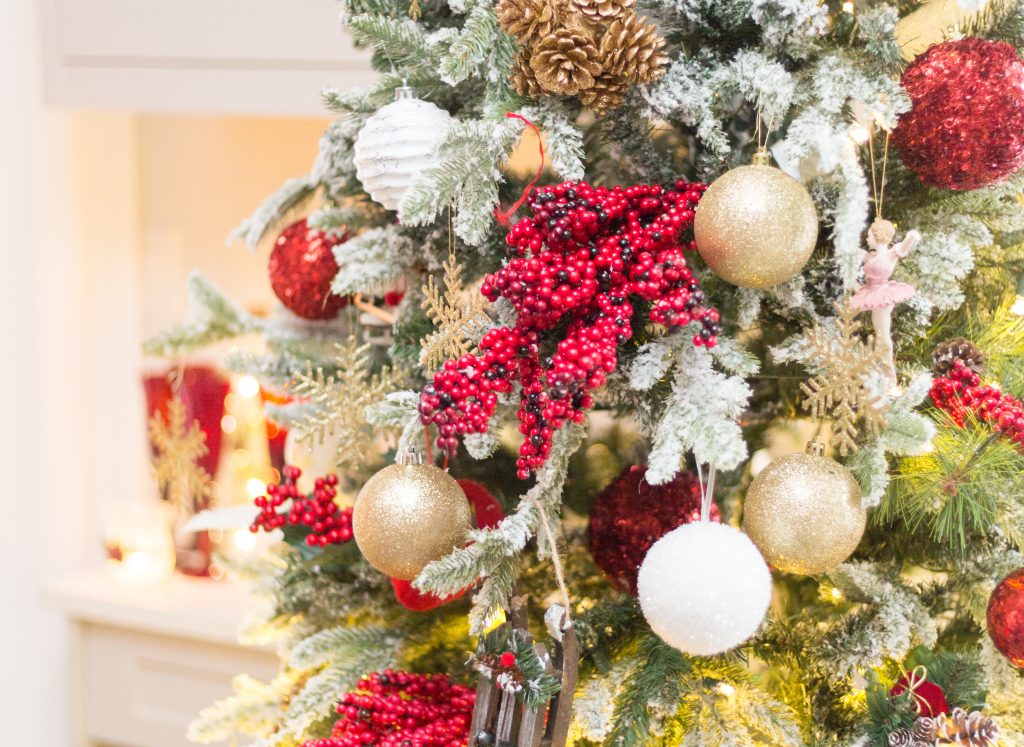
8. Use tree picks
There are so many different kinds of tree picks and you can get really creative with your selections! I chose to use berries, gold pinecones, and white glittery feathers. If you’re going for a rustic, nature-inspired look, branches and complementing greenery can add a nice full texture. The most important thing is that the picks have bendable stems which makes shaping nice and easy!
9. Top it all off
I’ve been looking for the right tree topper for years! Even though I originally wanted an angel, I found this plaid covered star which was the perfect fit for our rustic flannel theme and will tie in nicely to our campfire theme for Pierce’s birthday (stay tuned for his b-day blog post!). Keep in mind the proportions of your tree – one size does not fit all! Making your own topper can also be a fun way to get creative and tailor it perfectly to your chosen theme.
10. Balancing act
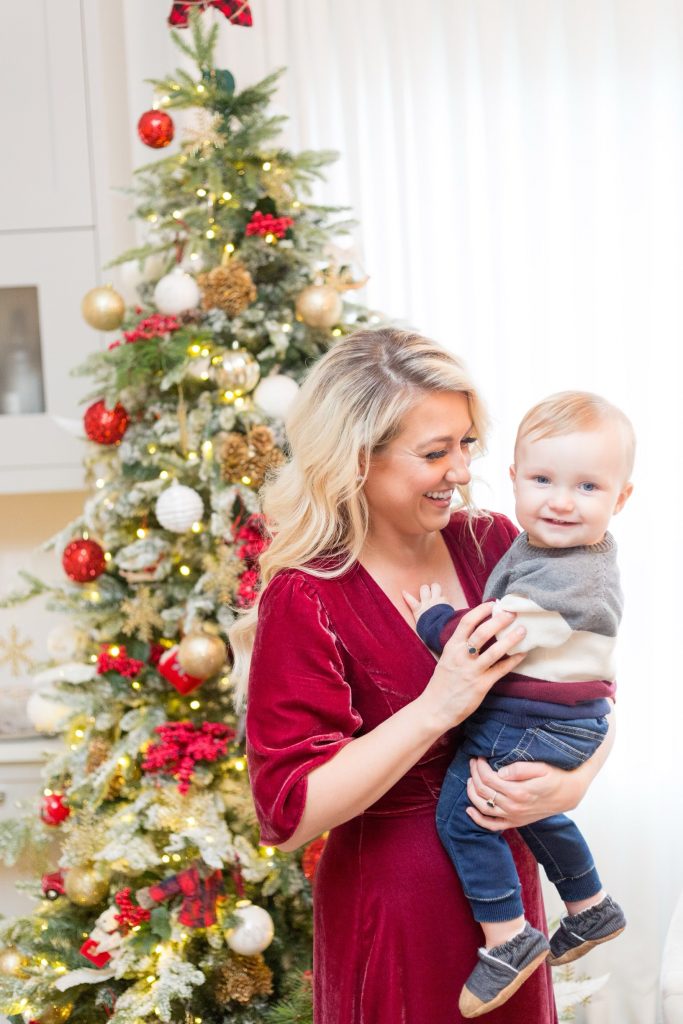
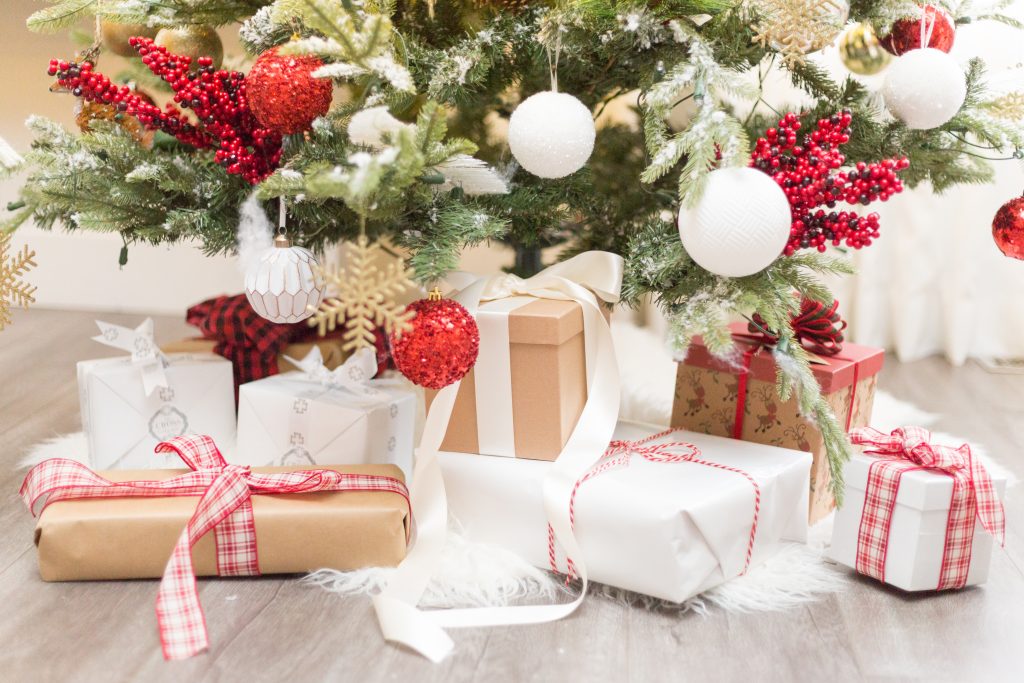
Once you’ve completed steps 1-9, take a step back and look at everything as a whole. Some ornaments will need to be shifted to make sure that everything is well balanced. I also like to make the area around the tree warm and inviting by adding pillows and throws in your colour theme like we’ve done here from QE Home Quilts Etc. They have the best throws and cutest Canadiana and Christmas pillows. For the finishing touch, place some wrapped presents underneath to match your theme! A tree never quite looks complete without some presents underneath it. I love to get creative with my wrapping and use different paper, wrapping and ribbon.
Following these steps, you should be right on track for a beautifully decorated tree! If you’ve been reading through this and thinking “where will I find the time”, organize a decorating party! Have all of your friends and family over to ring in the holidays to lend a helping hand. This is a great way to squeeze in some face time and get your decorating done in one swoop! Just don’t forget to feed them. Quesada Burritos has some great options that let you focus on the decorating and socializing like mini churros and burritos. Yum!

The tree serves as the focal point for all your other Christmas decorations and sets the tone for your holidays. It never really feels like the Christmas time until our tree has gone up and the lights have been switched on! I’d love to see all of your trees and hear any other tried and true decorating tips you might have – drop me a line!
Photography by Warin Marie Photography
Leave a Reply


